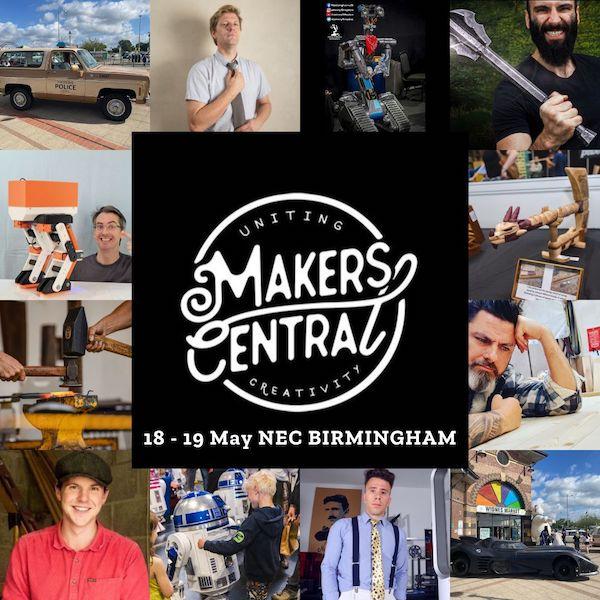
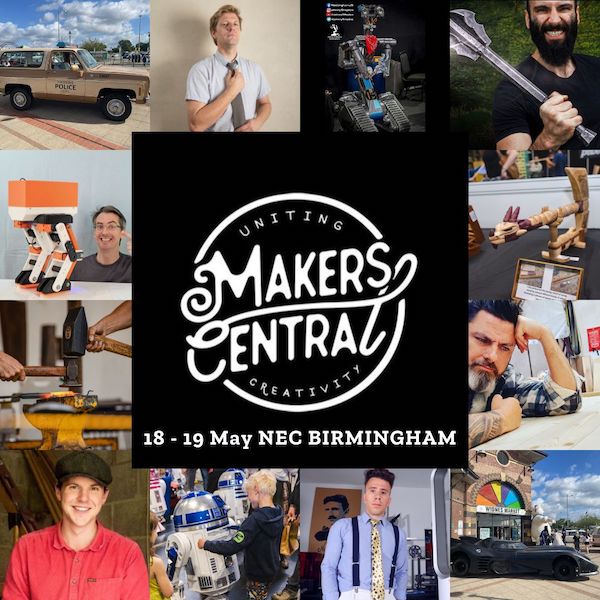
The mitre is one of woodworking's simplest joints. Being perfectly symmetrical it looks easy to produce, but it's a joint that is hard to get right and make strong without using
unsightly nails or brackets as reinforcement. There are many treatments that can be
applied to the humble mitre to increase its strength but not many come close to the
elegance of using veneer keys.
I will demonstrate here how to make veneer keys and how
their use can add a new visual element to the humble mitre joint while dramatically
increasing its strength. A special jig will need to be made to key the mitres effectively and I
will use another jig to help clean up the finished joint. Once built these jigs can take a
permanent place in the workshop to aid future projects.
Veneer keys are just that, thin keys made from veneer that are inserted into purpose cut
grooves on the outer corner of a mitre. The veneer can be a contrasting colour to show off
the detail. Or if you would rather disguise the keys, simply match the timber and veneer
colour for a near invisible finish. For demonstrating the technique I have made up a maple
frame and will be using mahogany veneer for the keys.
After cutting a set of accurate mitres with a good saw. Glue them up in the usual way. I
prefer to use a good quality chop saw for small mitres and a table saw with a mitre sled for
larger ones.
1. Three veneer keys equally spaced
2. Three closely spaced veneer keys
3. A solid mitre key
Part 1: Making a jig to cut mitre keys
Because glued mitre joints are delicate, cutting the grooves for the veneer keys is a risky
procedure. To minimize the risk of breaking the glue joint I am going to make a jig to hold
the glued mitre fast leaving me free to cut the veneer key grooves without worry.
The jig can be made to any size, the important thing is the design which supports the 90
degree angle of a glued mitre joint. I have opted for a good general purpose size for use
with small frames and boxes.
Please be aware while following these instructions that the sizes can be customized for
your own needs. If for example you work with large frames, you might want to make a
bigger jig to accommodate the larger scale of your work.
First cut the main components. My cutting list was as follows
(all dimensions in MM):
4. Using a chop saw to cut mitres for maple frame
5. Mitred frame being glued up with special purpose framing clamp
6. Finished jig clamped to the workbench and ready for use
7 & 8. Cutting the components on a table saw.
9. Using a mitre saw to create the triangular support in MDF
Cut the 45 degree angles of the triangular support plate (B). Glue the triangular support plate to the backing board ensuring the bottom edges are
perpendicular and the apex of the triangular plate is centrally aligned with the backing
board. Clamp up and leave to dry.
Mark a central 10mm hole in the hardwood vice front (D). Mark another 10mm hole that is
offset from the central hole at approximately 45 degrees. This second hole will
accommodate the dowel guide pin (E) and will keep the vice front aligned with the rest of
the jig. Drill the holes using a drill press then line up the vice front with the jig assembly for
marking.
Mark the drilled holes onto the main assembly and again drill the holes using a drill press.
There is no need to take the guide pin hole all the way through, about 25mm deep should
be ideal.
Insert the dowel guide pin (E) into the offset hole and glue in place. A tight fit is good to
keep everything alined. If needed use a mallet to gently knock the dowel into place.
10. Applying glue to the triangular support
11. A simple rub joint is ideal
12. Dowel located in hole
13 & 14. Drilling the holes in the vice front and in the main assembly
15. Marking out biscuit positions
Next, biscuit joint the backing board assembly (A+B) to the clamp support plate (C). Then, glue and clamp the two pieces together.
16 & 17. Biscuit jointing the two components
18. Clamped up assembly
A 10mm threaded rod is now needed for the central hole in order to provide the
mechanism for driving the vice closed. I have used a locking handle fixing (available from
Axminster) which is ideal for this kind of application. Once tightened the handles can be
lifted and moved out of the way. If you don't have a locking handle to hand, you can use a
custom cut length of threaded rod with a washer and wing nut on the front end and a washer / nut combination on the back end. If you go down this route it's a good idea to
super-glue the back nut to the threaded rod, effectively creating a bolt that won't come
loose during use. Another simpler alternative is to use a plain old nut and bolt with a
spanner to tighten the vice. Not as good as a Kip fastener or wing nut, but will still get the
job done sufficiently well.
The next thing to do is counter bore the back of the jig. The nut (when using the locking
handle fixing) or the bolt head (when using the wing nut type approach) needs to be sunk
so that is doesn't protrude passed the back face of the jig.
Once counter bored I recommend gluing the nut/bolt head in place to stop it spinning
during use. A hot melt glue gun is ideal for this.
19. Counter boring the back of the jig to make clearance
20. Using a hot melt glue gun to secure the nut in place
21. Securing a mitred frame in the jig
The jig is now almost complete. Simply slide the vice front onto the jig, put the threaded
fastener assembly through the central hole and you're ready to cut a set of mitre veneer
keys!
Clamp the jig to your work bench with a couple of clamps then use the vice jig to snugly
secure a corner of your mitred frame.
Before working on the frame mitres, cut a slot in a piece of waste wood using a fine saw. A
small dovetail saw is ideal. This will allow you to gauge the saw kerf thickness. Try slotting
in various thicknesses of veneer to see which fits best. You can always use more than one
layer of veneer to create keys for thicker saw kerfs.
Once you are confident with your saw kerf / veneer thickness combination it's time to use
the jig.
22. Cutting into a piece of waste wood to test the saw kerf thickness
23. Trying the veneer thickness for size in the saw cut
24. Cutting into a mitred joint using the jig
Mark out the spacing between cuts and ensure that each cut is as straight as possible. It is
also important to keep the base of the cut straight and of equal depth on both sides. Bear
in mind that the veneer key will sit on the base of the cut so any discrepancy here will
show as a gap at either end of the sawn slot when glued.
A single veneer key will add significant strength to a mitred joint, but using two or three
keys will make your joint even stronger. If you are using contrasting woods it can look
more appealing too.
Cut the veneer with a knife or pair of scissors. Another important point to remember is the
grain of the veneer should run in the same direction as the saw did when you were cutting.
This will create the strongest joint possible. Think of it like plywood, you are essentially
making room for another layer of timber with your saw cut and just like plywood, each
consecutive layer of grain should run in the opposite direction.
25. Cutting the veneer keys to shape with a pair of scissors
26. Veneer keys glued in place
27. Using a block plane to trim the veneer keys
Once the veneer is cut to rough size, spread a thin layer of PVA glue over the veneer keys
and insert them into the cut slots.
Leave the glue to dry, then trim the keys with a chisel and block plane. Be sure to follow
the direction of the grain to avoid any ripping out. The jig provides a versatile system for both sawing and cleaning up.
Just like dovetails, veneer keys can be used for decorative effect. Try using different
spacings between the keys. If you want to get really creative you could even use different
coloured veneers for multicoloured joints!
28. Using a small chisel to clean up a mitre key joint
So we've covered veneer keys, what about mitre keys? Mitre keys follow the same
principle as veneer keys but instead of using veneer for the key, a solid piece of hardwood
is used to create a thicker and stronger key. Solid mitre keys can be cut to size on a
bandsaw and trimmed with a block plane. The same jig can be used to cut the female part
of the joint. Do take care to ensure the keys thickness matches the thickness of the slot
you cut in the mitre. Mitres are fragile and will easily split if the solid keys are too thick.