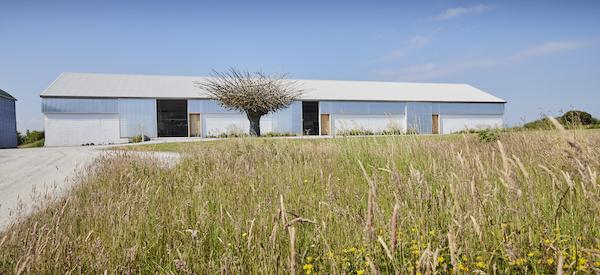
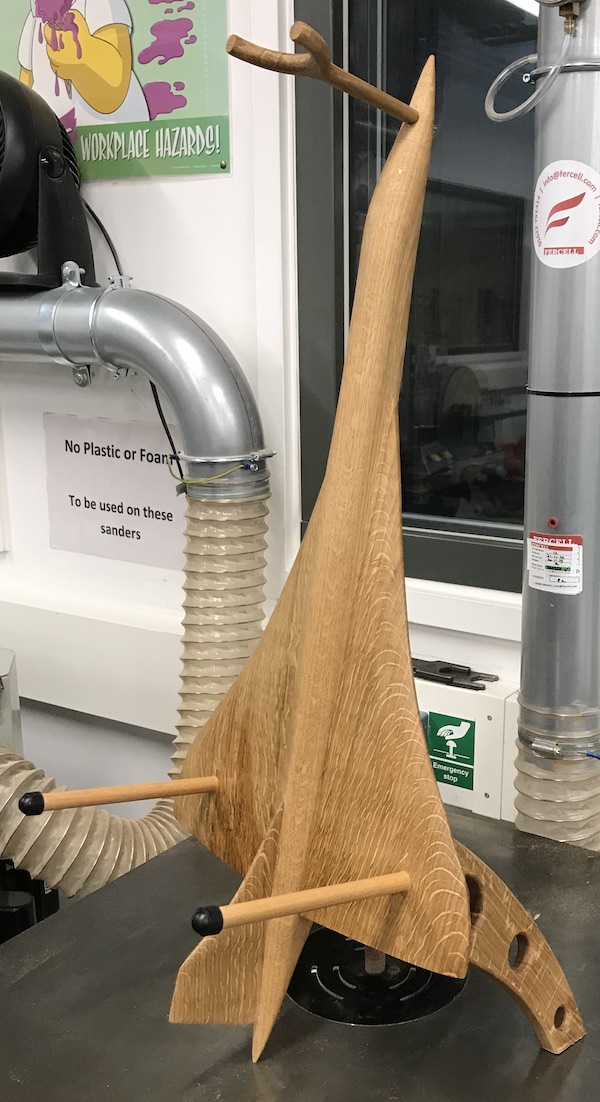
Joseph Walsh Studio, County Cork, Ireland will hold its first annual Careers Day on 31 May 2024. The event is aimed at anyone with an interest in joining the team at this renowned Studio, which this year celebrates its 25th anniversary
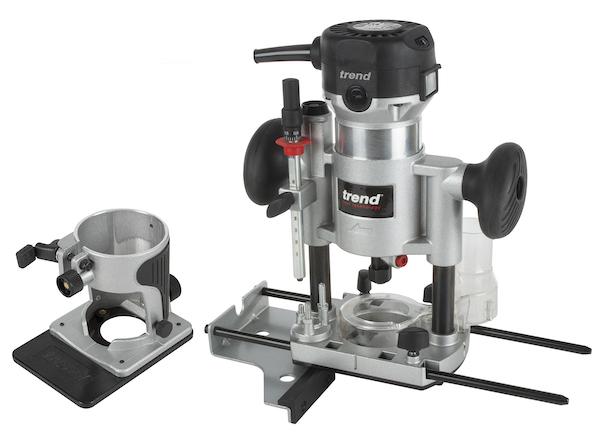
Trend Tool Technology - the pioneer in woodworking innovation – is proud to announce the release of its new T1 – a versatile 710W ¼in dual-base trim & plunge router for precision woodworking
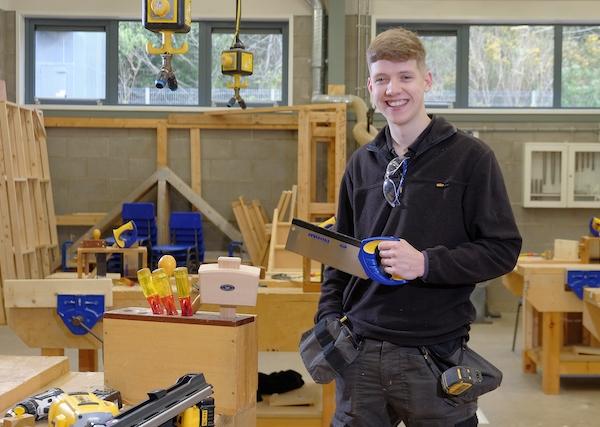
Apprentice carpenters Matthew Rutherford from Bangor, County Down, Alice Nerger-Jones from Devizes and Lewis George from Neath, are in the running to be named the Screwfix Trade Apprentice 2024.
Featuring such projects as a sublimely delicate furnace ring box and a turned waveform bowl, along with a technical piece on workshop mobility and lots more, the May issue also includes a fantastic competition: win a Robert Sorby Five-piece Traditional Bolster Satinwood Bevel Edge Chisel Set – worth over £290!
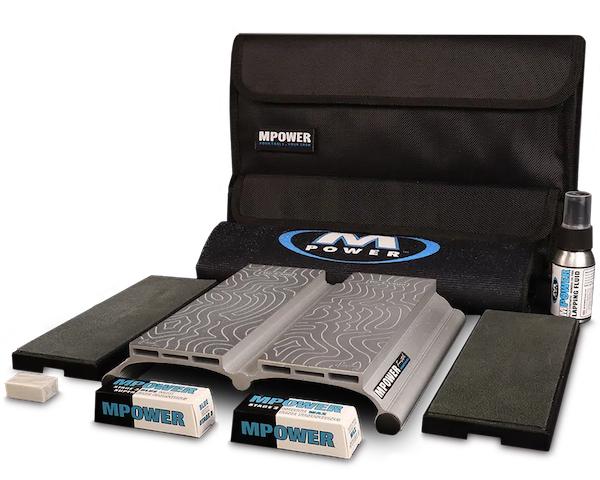
Also known as the little brother of the 'Big Dawg' – MPower Tools' Side by Side (SBS) six-stage three grade diamond sharpening station – the new SB2 ensures 'a lifetime of sharpness' with a lifelong companion
The world-renowned Boat Building Academy (BBA) in Lyme Regis, Dorset, will hold its annual Open Day on Saturday 27 April, offering visitors the chance to see the latest student-built boats, finding out about courses on offer as well as enjoying entertainment and food
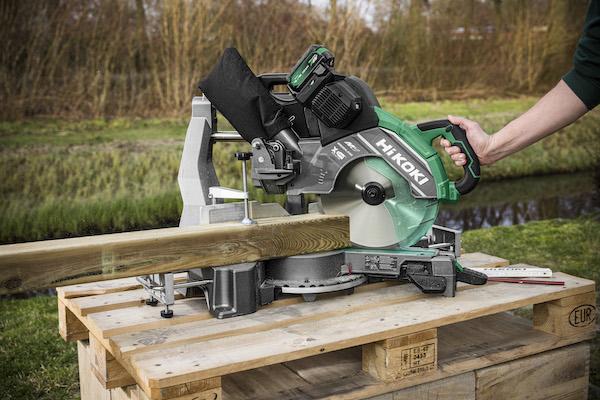
Engineered for precise cutting and working, the C3612DRA 36V 12in compound mitre saw is powerful in use, versatile, as well as delivering unmatched accuracy and heightened productivity for all your woodworking projects
In conjunction with Robert Sorby, we’re giving one lucky reader the chance to win a fantastic set of five bevel edge chisels, with traditional bolster and ferrule design, all supplied in a robust wooden presentation box